Learn the best ways to add Gamma in V-Ray!
We actaully are “producers” of images and we need to correctly setup the gamma in 3ds Max, in order to imitate the behavior of real cameras. Choose the right combination to just adds 2,2…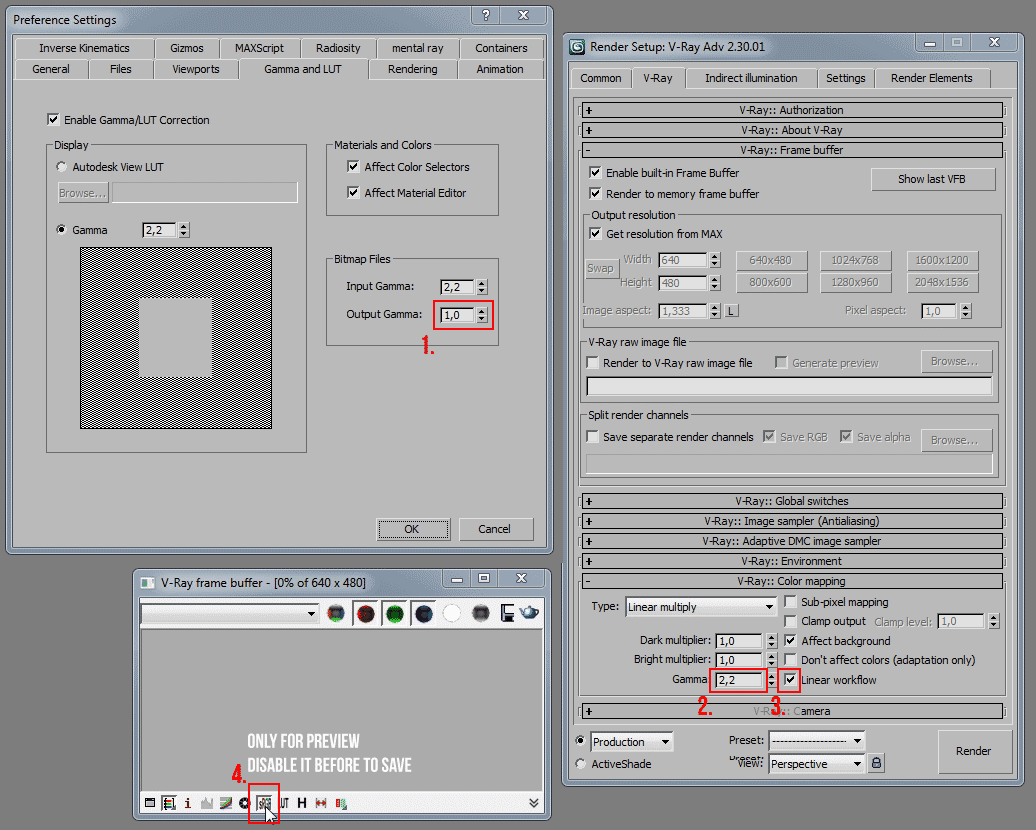
We actaully are “producers” of images and we need to correctly setup the gamma in 3ds Max, in order to imitate the behavior of real cameras. Choose the right combination to just adds 2,2…
Author: Anton Cherenko
Anton participated in the GH House Challenge, winning an Honorable Mention Award for his entry. In this article, He describe the process of working on his images.
“I’m very happy to share with you the process of creating my entry for the GH House Challenge. This 3d scene was made with 3D Studio Max 2009, VRay render engine, OnyxTREE, Adobe After Effects and Photoshop.”
Learn how to generate mattes, or masks, using 3ds Max and V-Ray’s render elements, and how to use these for added control in compositing. Omar shows you which render elements to use and various techniques for how to set them up. He then shows how to use the generated masks in Fusion to color correct just the car paint and the rims of the rendered image. Fusion 6 (including the free Learning Edition, see link in the sidebar) can be used to follow the tutorial. However, the techniques shown apply to most compositing applications.
Tutorial by Omar Zahid
Continue reading here
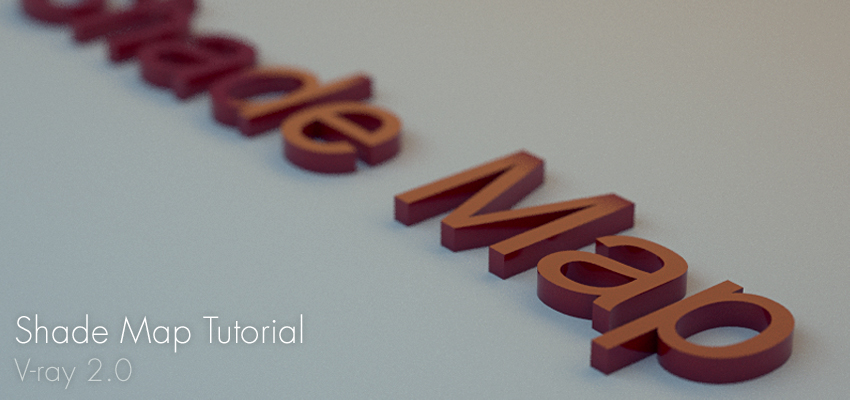
the use of a Shade Map with V-ray 2.0 to minimize the rendering time of the depth of field! The calculation of the DOF increases from several minutes to seconds!
It’s very simple to implement, and it can (finally) to really enjoy the DOF directly in V-ray.
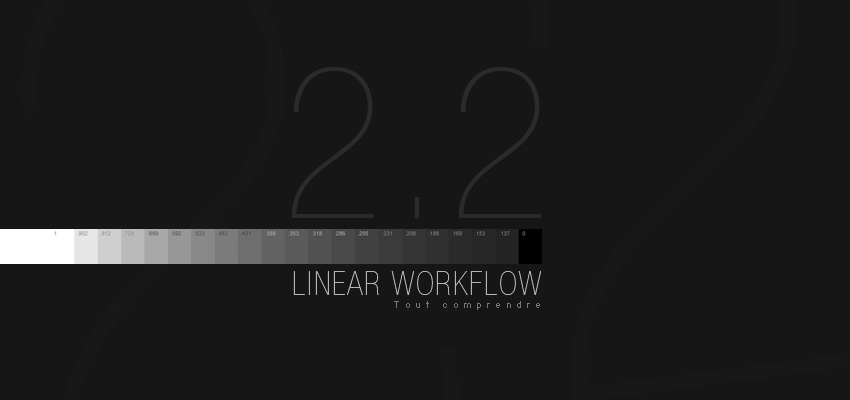
An interesting post on Linear Workflow. It explains the importance of Gamma Configuration in Vray
Read this tutorial

Some day ago I was talking with Alfa Smyrna.. great artist, I’m sure you already know as Pixela. We was talking about clamp output. Here why is not necessary using clamp output especially working in linear color mapping. First of all we need to know that de default value for clamp is 1,0 and it is the white in 32 bits.
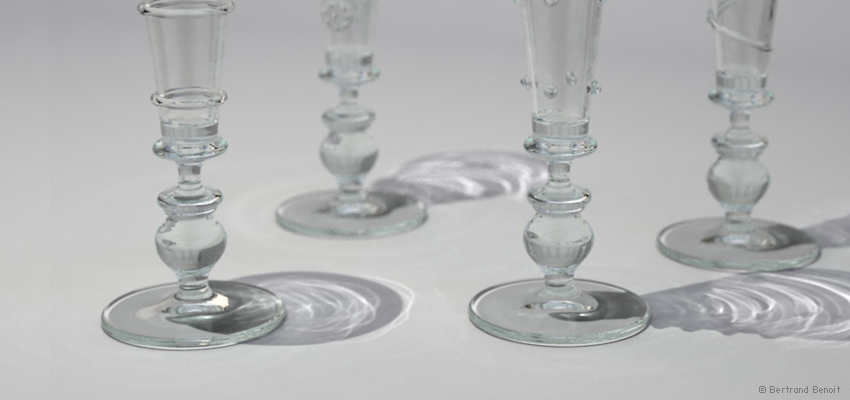
To recall the “ShowCalcPhase” allows you to see the calculation of the Global Illumination , eg irradiance map. It is not active by default, you have to activate each new scene. Here the principle is the same, we must activate each time, except that Chaosgroup has not provided a button … So we will have a little script every beast that will allow us to visualize the pre-computation of caustics.

I think the one you have been waiting for! The VRay Effect Lens is part of topics essential since the release of V-Ray 2.0. This is Alfa Smyrna , better known by the nickname Pixela , which proposes a comprehensive tutorial on its use.

This is the first tutorial about MaxScript into the Matt Guetta blog. This is nothing incredible, but it’s really useful to save your time without really learn Max Script.
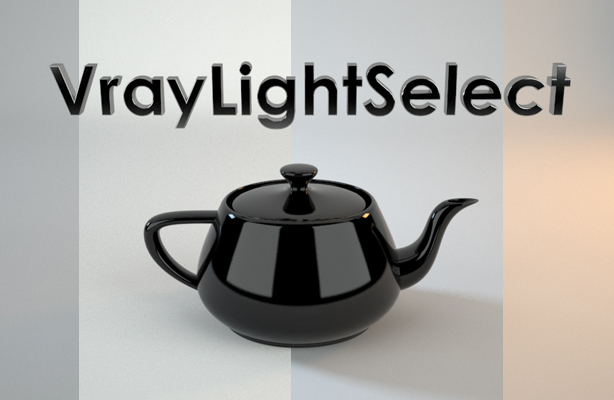
VrayLightSelect: it does not contain information of Global Illumination, which means that there are only of direct lighting. This amounts to saying that also count on the pass to work your lighting completely denature the consistency of your computing global illumination .
So keep in mind that this is useful but it must be used for two reasons only, make a quick devlook before launching the final play subtly and components. It is therefore no question of relying only on it as I do in this tutorial.